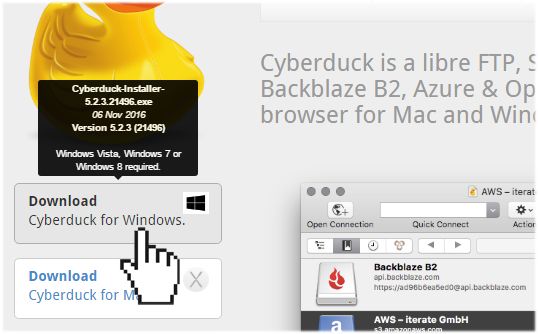
Cyberduck can be downloaded free of charge from http://cyberduck.io.
- Download the Cyberduck software and install it onto your computer.

- Open Cyberduck.
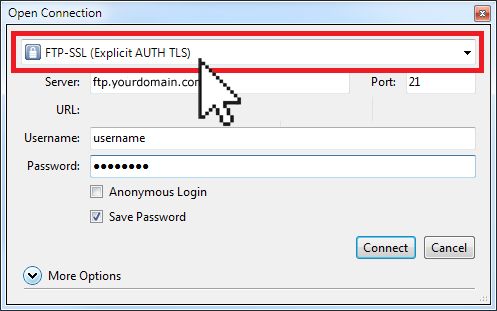
- Click Open Connection to start a new FTP connection.
- On the Open Connection window, you will be prompted to enter your FTP login information. From the drop-down menu, select FTP – SSL (Explicit AUTH TLS).

- Enter the following connection settings:
- Server: ftp.yourdomain.com (replace yourdomain.com with your own domain name)
- Username: your FTP username
- Password: your FTP password
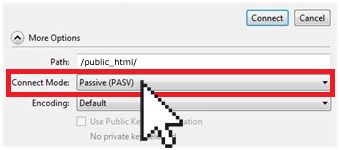
- Click More Options. In the Path field, enter /public_html/
- From the Connect Mode drop-down menu, select Passive (PASV).

- Click Connect to connect to your FTP server.
NOTE: The first time you connect using FTP-SSL, you may get a “Verify Certificate” pop up. This is a simply precautionary warning and all you need to do is check the Always trust… option.
Once you have established connection with your server, you will see a list of the folders and files your FTP account has access to. Simply drag and drop the files into Cyberduck to upload the them to your server.
